Buying a Christmas tree as a community council in Glasgow costs around £5,000. And there’s only one way into this service, but that’s a story for another blog!
In our Community Council, a Christmas tree has always been one of the top ten priorities voted for by our community, and we’ve made sure to honour that every year.
However, spending £5,000 of public money on cutting down a tree, enjoying it for six weeks and then shredding it afterwards never quite sat right with us. It felt wasteful, not sustainable and, frankly, outrageously expensive.
I’m a bit of a doer and a maker, so during one of our Community Council meetings, without really thinking it through, I blurted out:
“I’ll make one! Flat-pack, much cheaper, and we can reuse it every year.”
As the words were coming out of my mouth, I could hear them in slow motion in my head, realising there was no way back… But that’s my idea of fun anyway, so I got straight to it.
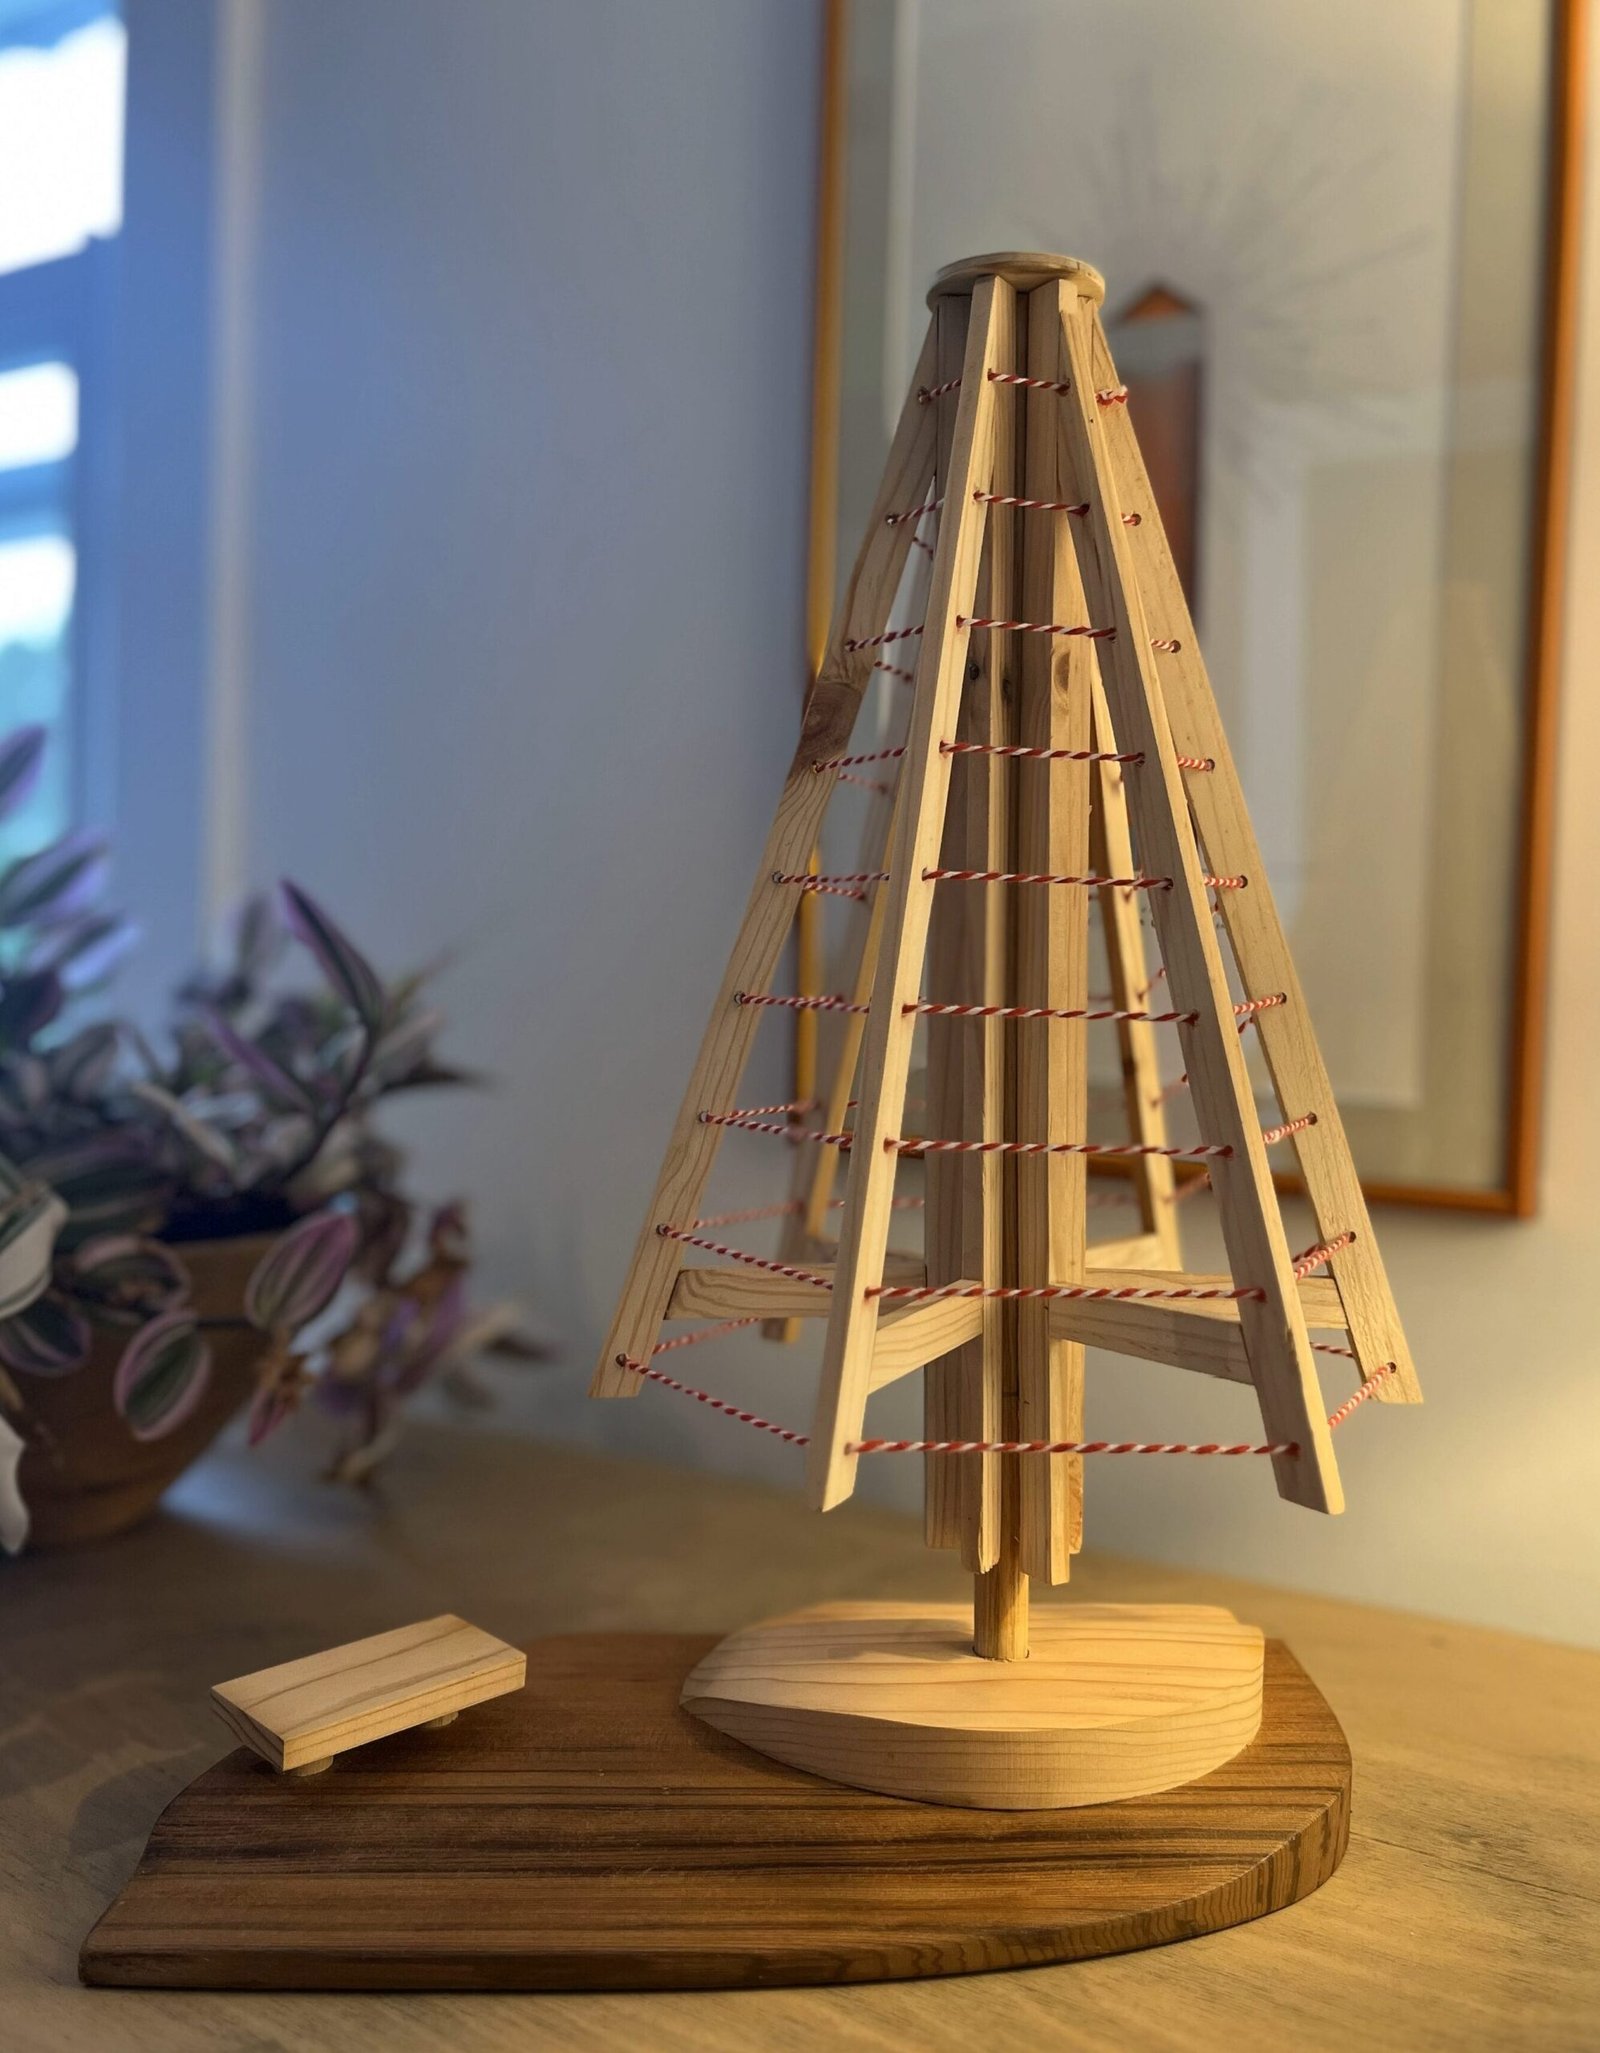
I started by making a 40cm-high scale model to get a better understanding of the construction and, importantly, to show the Community Council what I had in mind.
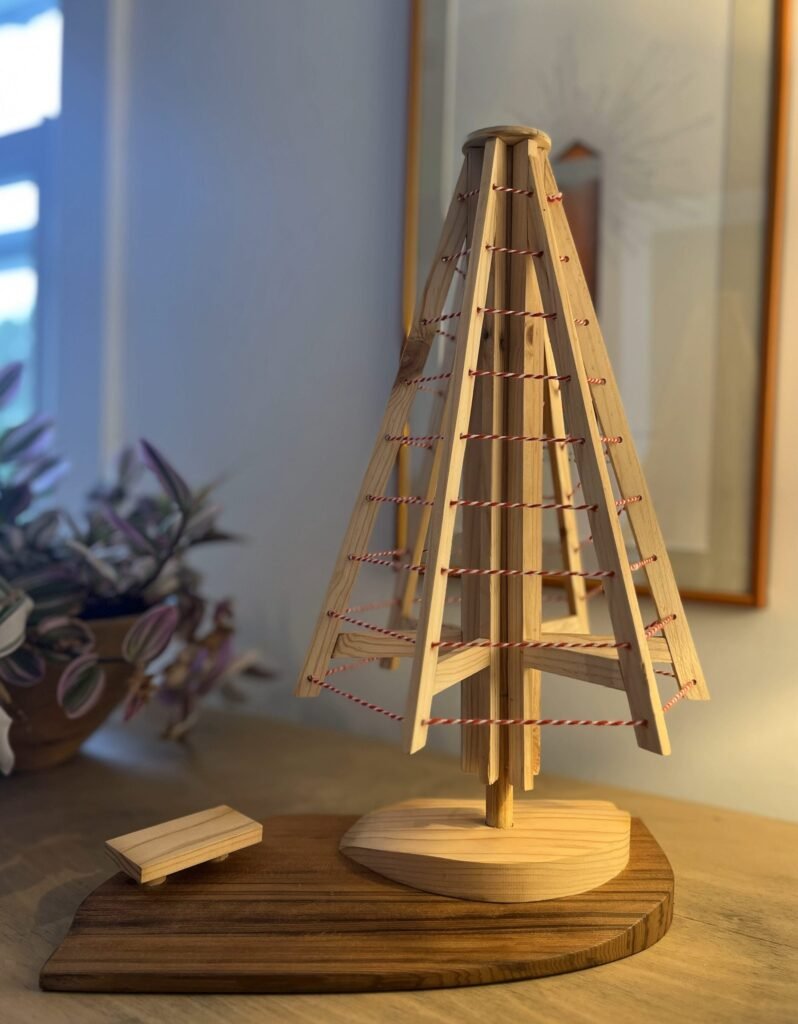
At the following meeting, the proposal was unanimously approved. Now all we needed was permission from Glasgow City Council.
That turned out to be a slightly longer journey. There were several emails, a few in-person meetings and quite a bit of back and forth over the next two years. But we got there! In October this year, we finally received the green light.
Now for the build!
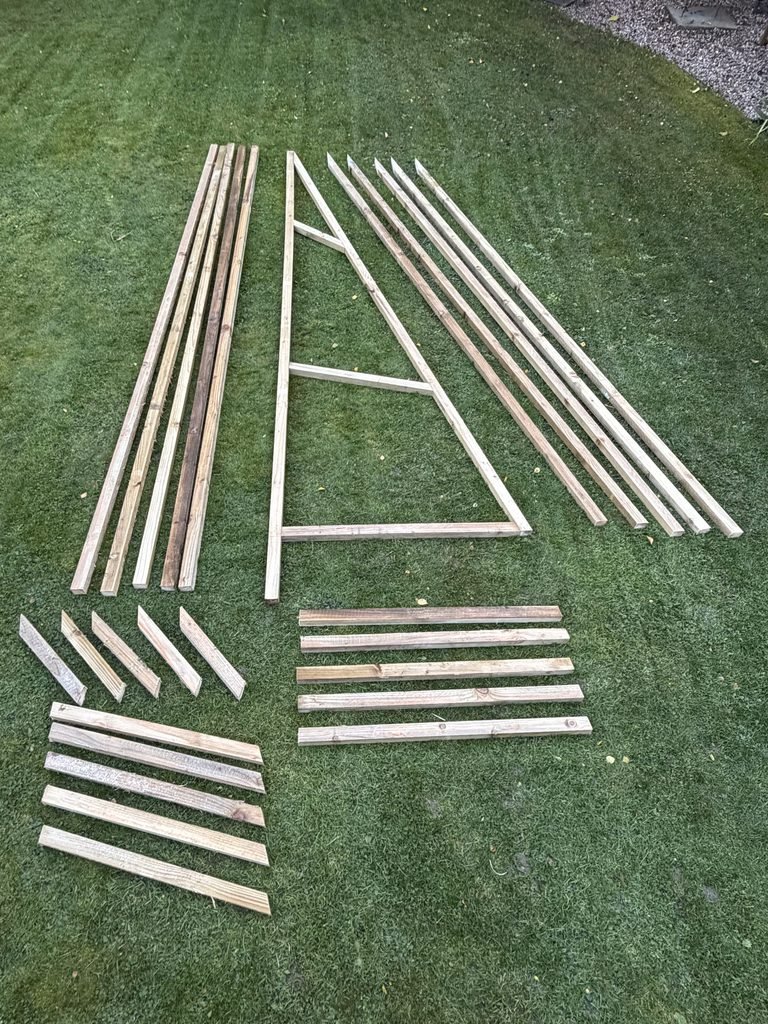
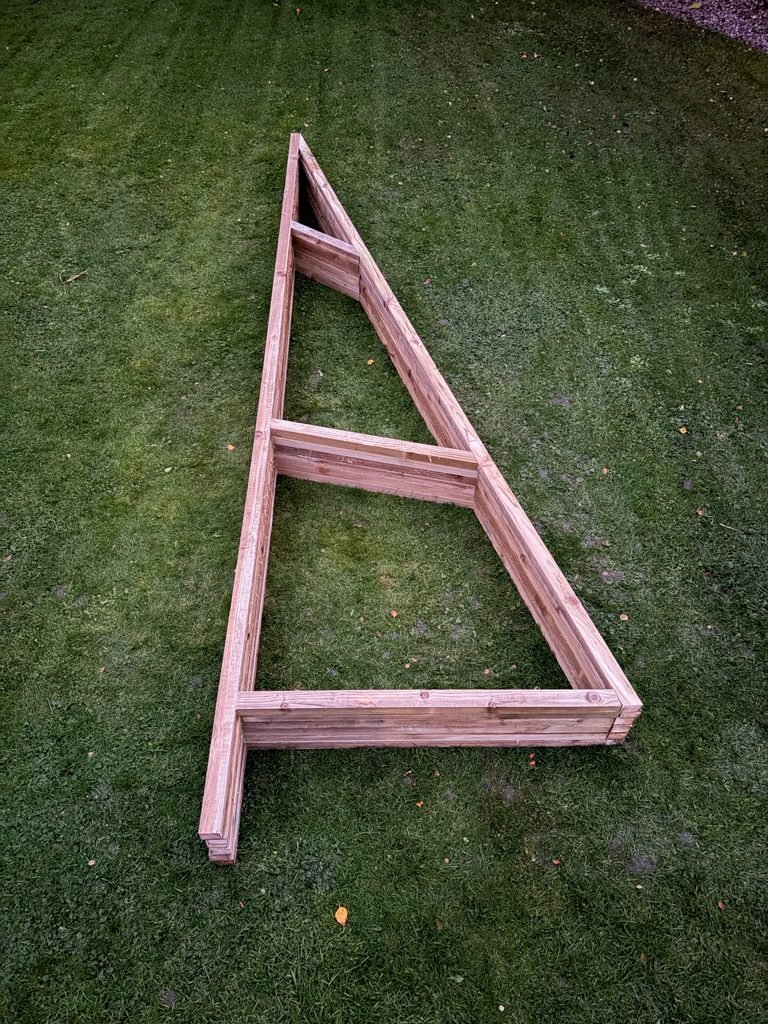
The construction is fairly straightforward, the tree being made of 6 ‘A frames’ and a central post. I also designed it to make the most of standard timber lengths, and ‘off the shelf’ products, so there are virtually no offcuts left over and it can be replicated if need be. (if you want to know how it’s built, read on!)
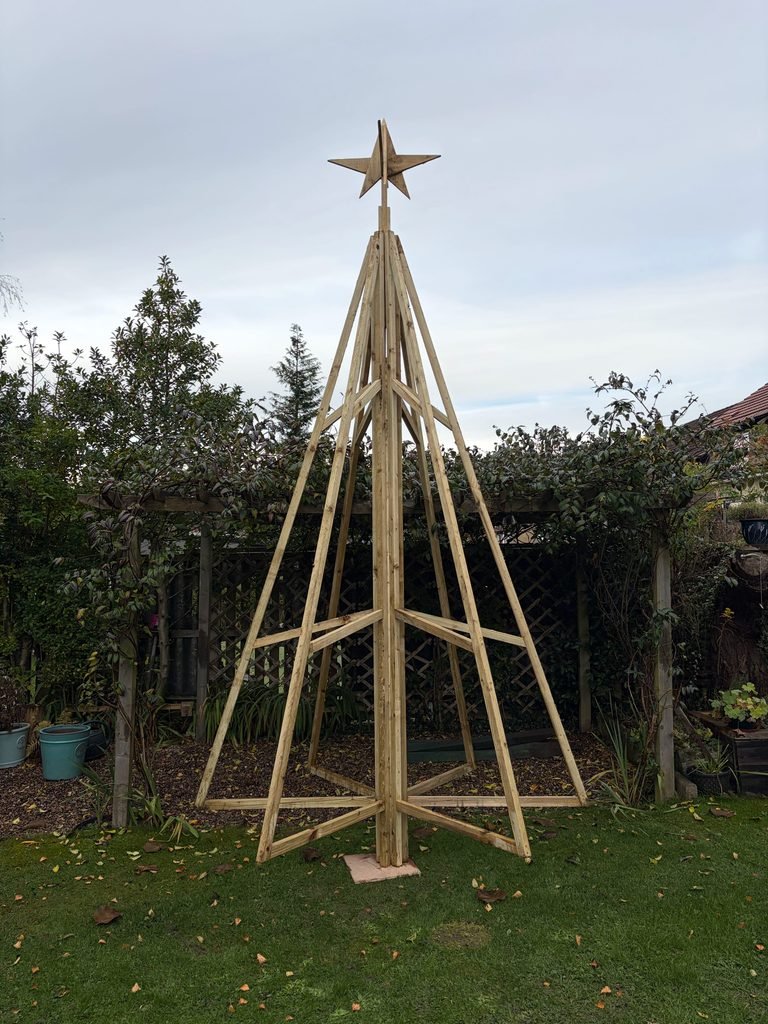
The tree will soon be installed, and we’re looking forward to celebrating its first appearance with our community.
Join us for the Christmas tree light switch-on!
We’re organising a little celebration on Tuesday 1 December at 19:30, outside the Couper Institute. There will be Christmas carols, mince pies and, hopefully, a few familiar faces.
It will be lovely to see the tree finally standing in place after all the work that has gone into it.
So come along and celebrate this little milestone with the Cathcart, Merrylee and Muirend Community Council!
(More photos to follow after the event)
The technical bit: how I built it
Here’s a closer look at the design and construction.
The design
The tree consists of six timber A frames arranged around a central post. Together, these form the supporting structure, with the frames creating the familiar triangular Christmas tree shape.
The original design was considerably taller, at 5.5 metres. However, this raised some concerns about stability.
At that height, we would have needed a deeper, bespoke concrete ground socket to hold the central post firmly in place. This would have meant additional work and costs, potentially taking us into the territory of bespoke engineering solutions. The tree itself was well below the £5,000 benchmark (approx £600), but I didn’t want the supporting infrastructure to become an expensive complication.
The City Council had concerns about the stability and potential risks of such a tall structure. To be honest, so did I!
So I went back to the drawing board and revised the design.
There were four main changes:
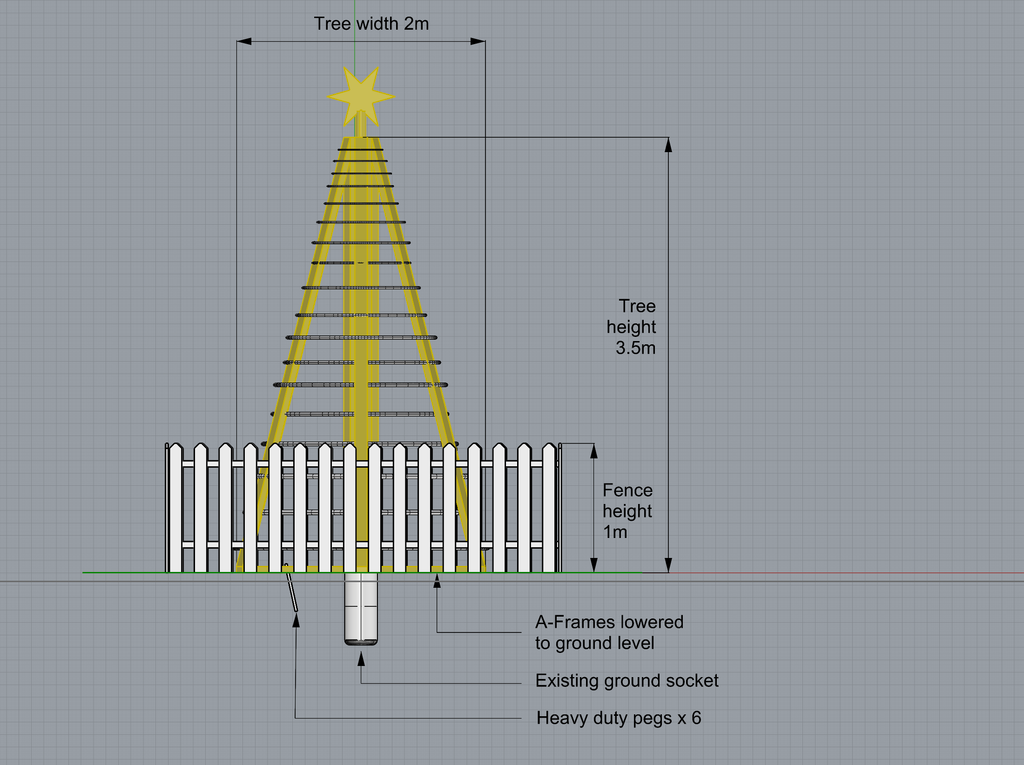
I lowered the horizontal beams connecting the A-frames, bringing them down to ground level. This creates a more stable base and helps tie the individual frames together into one structure.
I added heavy-duty metal ground pegs to secure the structure in position and help prevent movement.
I reduced the overall height from 5.5 metres to 3.5 metres, (4 metres including the star).
This made construction considerably simpler and helped minimise oscillation in adverse weather conditions.
Rather than introducing a new, bespoke foundation, I designed the tree around the existing ground socket. This simplified the whole process and should make installation much quicker.
I also included a one-metre-high perimeter fence around the tree to discourage climbing and provide an additional safety measure.
Materials and suppliers
I’ll include the timber dimensions, quantities, suppliers and costs here, so anyone interested in making something similar can use it as a starting point. Please note these are costs of the wooden tree and fence only. We also bought lights, insurance and an electrician to connect the lights.
| Description | Quantity | Unit Price | Cost |
| Fence | |||
| 10 x Round Wooden Fence Posts Stakes HC4 Pressure Treated 1.2m tall x 50mm Diameter | 1 | £ 39.99 | £ 39.99 |
| Galvanised Wire Mesh Roll 1Mx10M | 1 | £ 23.00 | £ 23.00 |
| A Frames (x6) | |||
| SAWN GREEN TREATED TIMBER 38X50MMX4.8M | 12 | £ 6.12 | £ 73.44 |
| Green Treated UC4 Incised Fence Posts 100 x 100mm x 3.0m | 1 | £ 16.21 | £ 16.21 |
| Fixings | |||
| ULTI-MATE STICK-FIT WOODSCREW BULK TUB 5.0 X 90MM 350 | 2 | £ 29.16 | £ 58.32 |
| 8PCS 40CM Galvanised Steel Rebar Ground Stakes | 1 | 16.99 | £ 16.99 |
| Subtotal | £ 227.95 |
I didn’t encounter any major problems during construction apart from one unexpected challenge: the central post.
My original plan was to use a 100mm-diameter round fence post. Unfortunately, I could only find them in 2.4-metre lengths. This meant joining two sections together, which would have introduced a potential weak point in the structure.
When the posts were delivered, I also realised just how wonky they were. They were never going to work…
I decided to use a 100 x 100mm square timber post, 3 metres long instead, and machine it down to a hexagonal section.
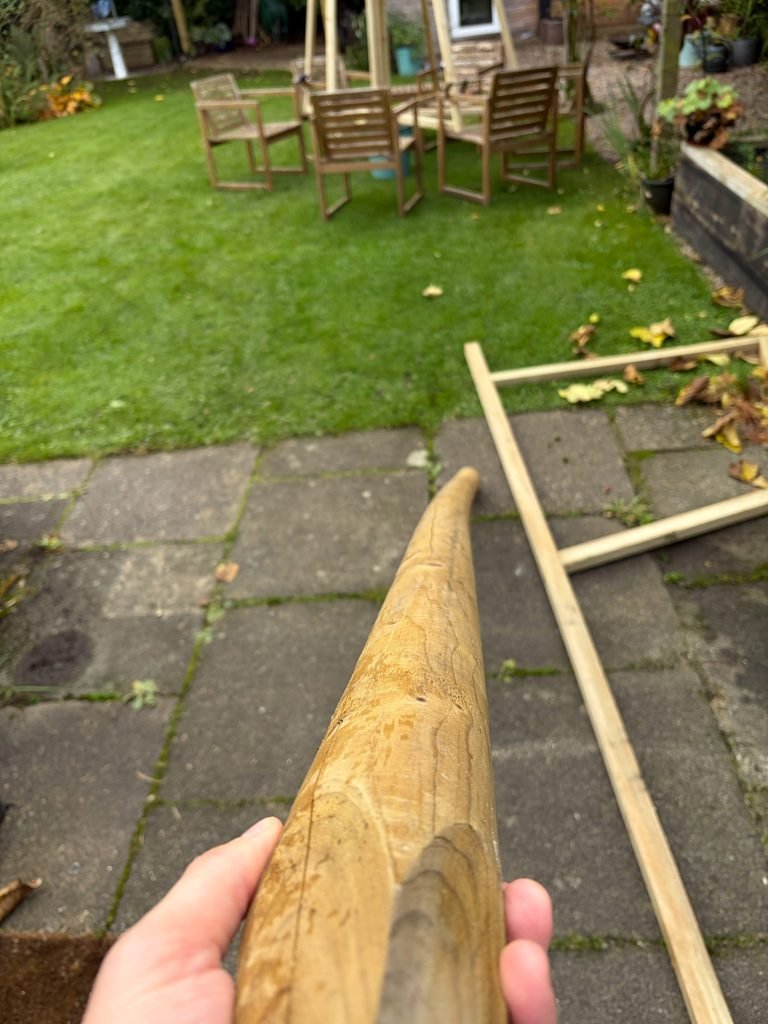
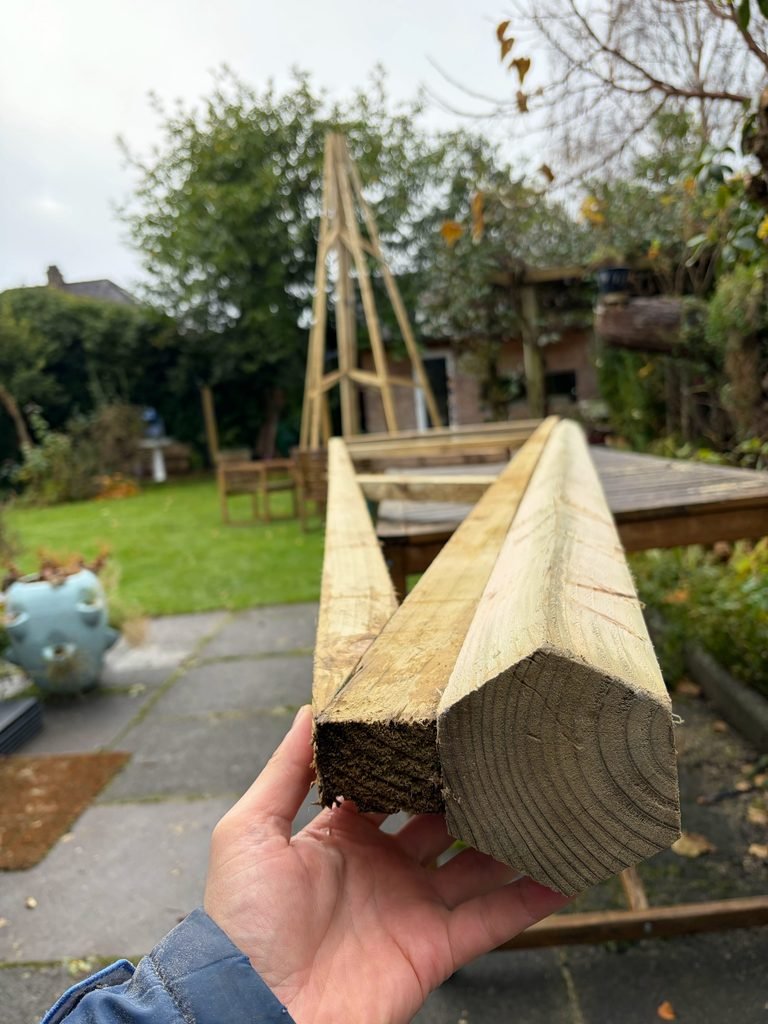
This turned out to be considerably more work than I had anticipated, partly because my tools and workshop setup aren’t exactly professional grade. But it worked out well in the end. The post was just long enough, and the resulting section provided a good fit for the design.
The star is made from some offcuts I had lying around in the garage. They’re green-treated planks, cut to form two halves of a star (X4) Each half is then screwed onto a central post, which is fixed to the top of the tree.
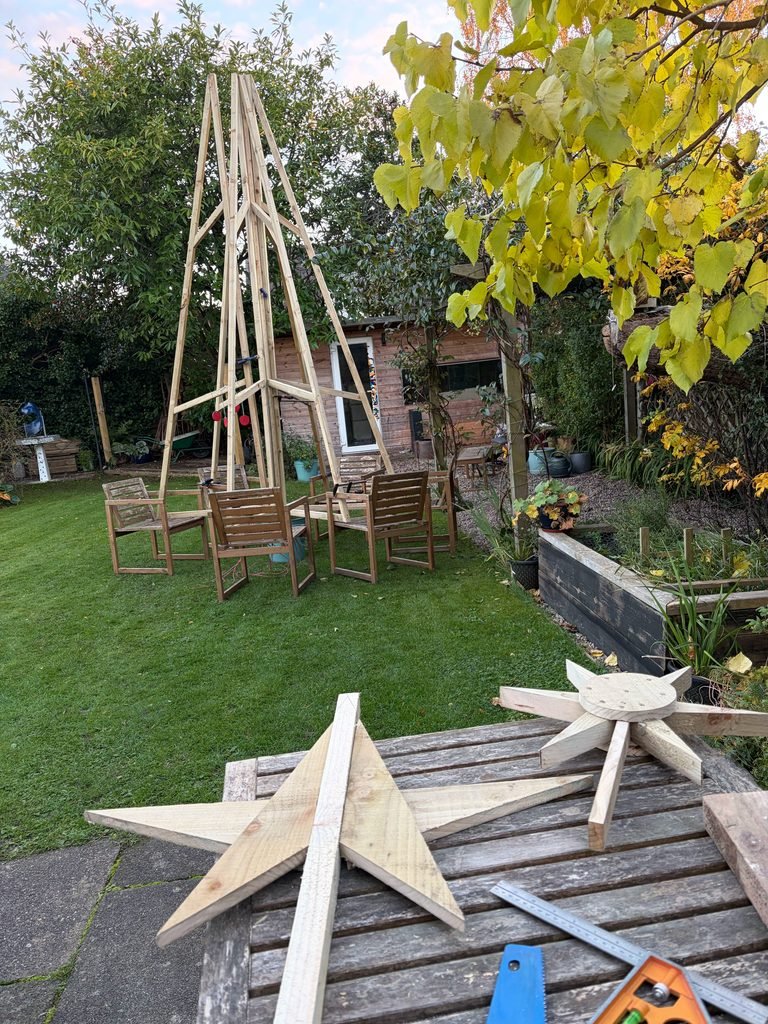
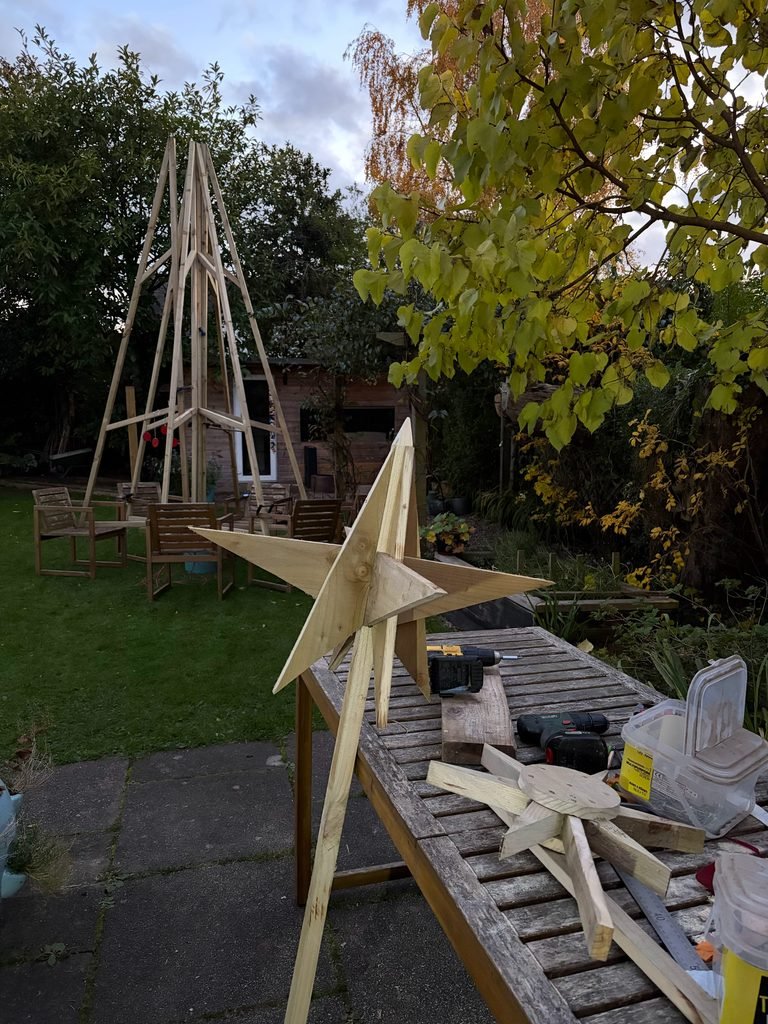
My first attempt (to the right, on the table) was to use the timber wedges – the only offcuts left from cutting the main lengths. I quite liked the idea of using absolutely everything, with no waste at all, but it didn’t quite work out. The star was way too small, and I wasn’t happy with the design, so I went back to the drawing board and settled for the second design.
Now, the proof is in the pudding!
The tree is ready to go up, and the real test will be whether it can withstand a Scottish winter! (Although I’m pretty confident it will!)
Tommy Petillo